It’s often the case that a production will wish to change the appearance of an aircraft to be used in front of the camera. Although a fairly simple process it is at the same time easy to make some huge physical and bureaucratic mistakes.
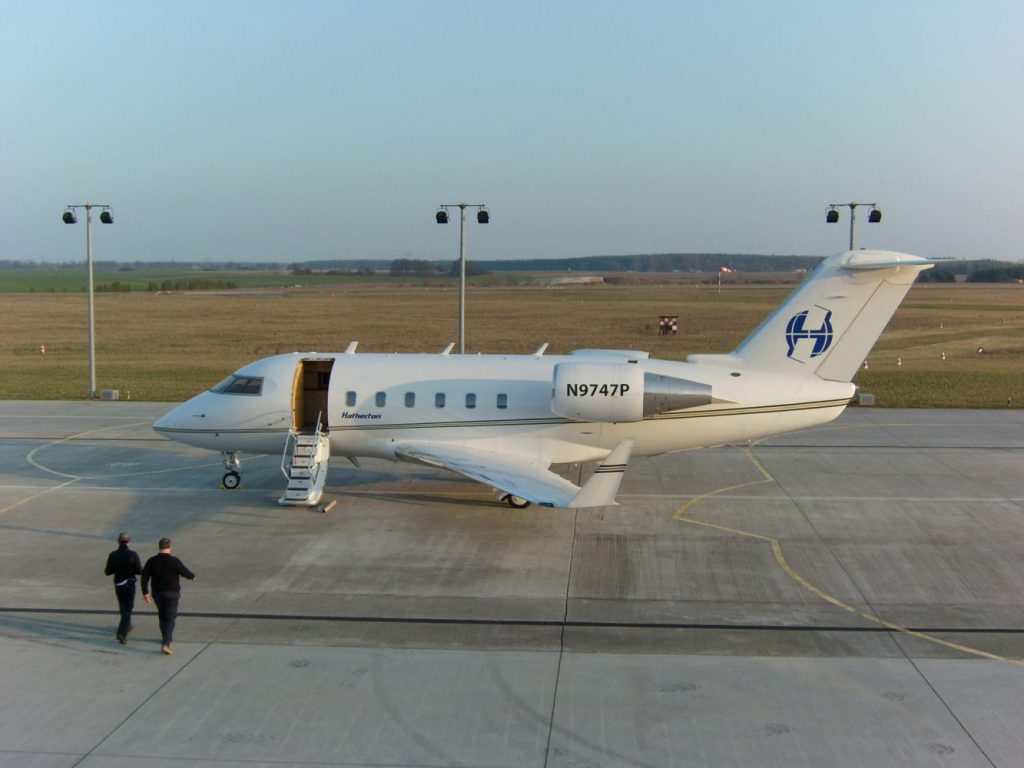
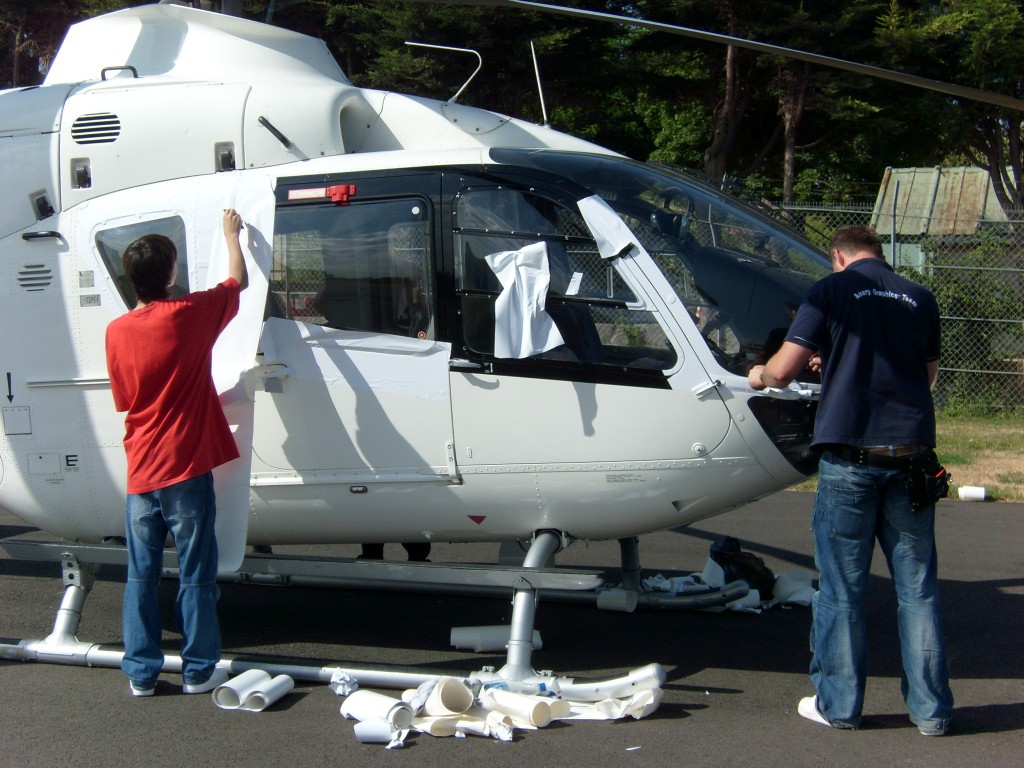
In many cases the transformation is not too severe – changing a registration, applying a company logo or indeed hiding existing markings. All these can usually be achieved by applying vinyls. If the aircraft is just set dressing then these are frequently applied using Vaseline in order to preserve the surface paint from damage. However if the aircraft is going to fly then the adhesive backing is going to be needed with all that wind. The skill here is in the choice of the vinyl and then the safe removal upon completion. Usually the heat of a hair dryer does the job but it always makes you nervous! Even a small Cessna would cost about £10,000 to respray with some of the corporate Jets going up into the £100,000’s. Some of the old War Birds are worth millions and the owners are, justifiably, very proud of them. Its not the time to be rushing..
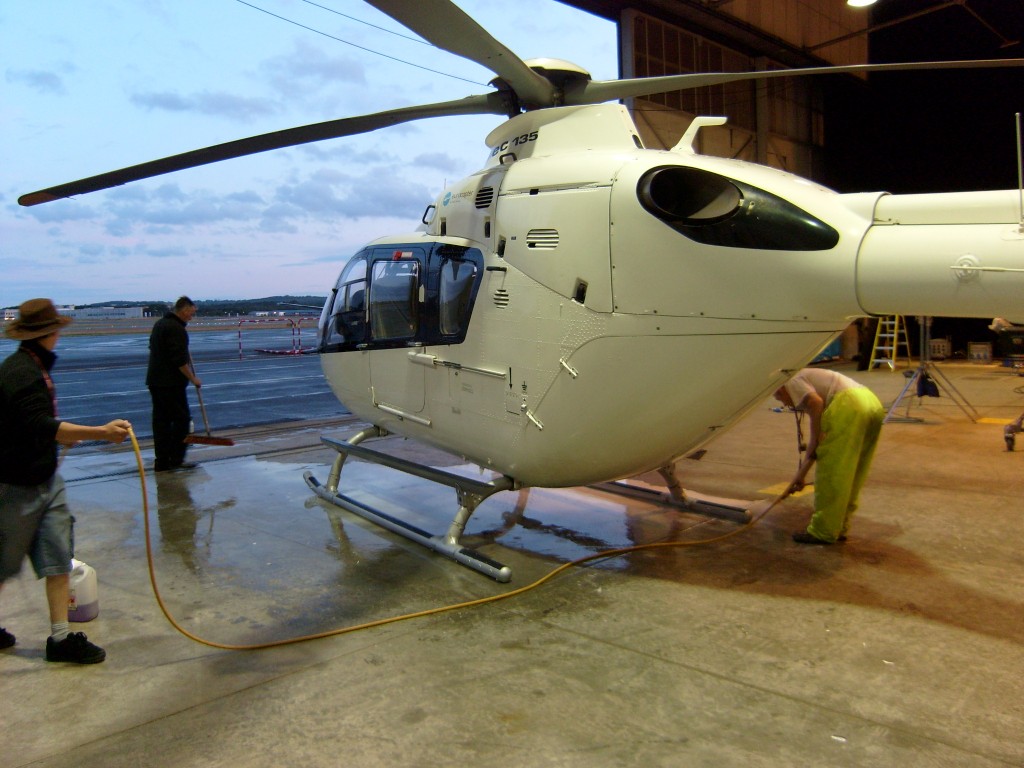
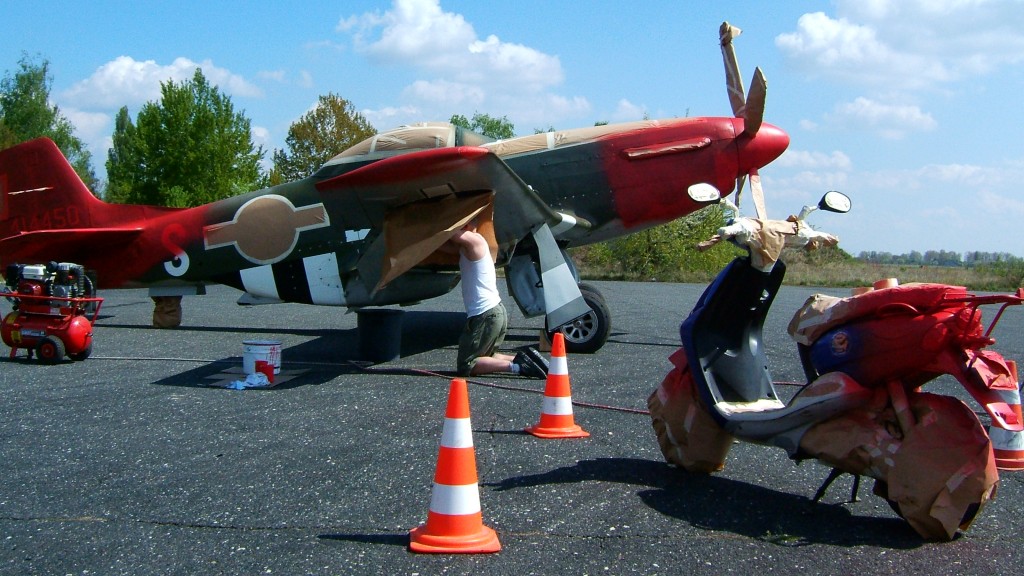
Sometimes however the transformation is more pronounced with a complete change of scheme required. In these cases then its time to crack open the paint tin. Temporary paint is clever stuff and much more resilient than you’d ever think. The perception is that with the slightest rain shower the aircraft will be turned into a streaky mess. Not so. We’ve painted aircraft in temporary for them to stay that way for years without apparent degradation in the quality. In fact the joke with our DC3 is that its only the paint that’s actually holding it together. Its had about 8 coats of temporary paint on top of each other!
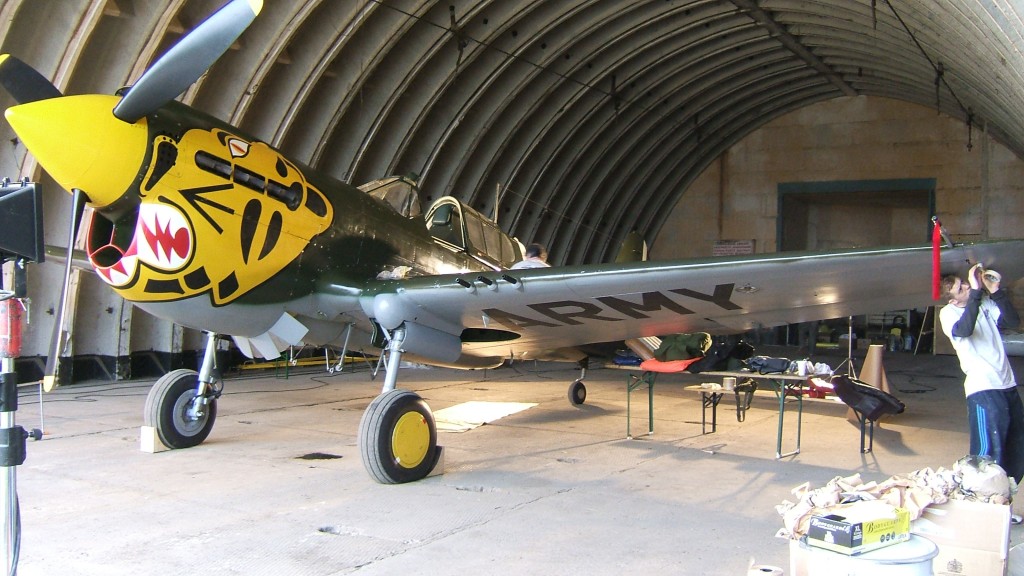
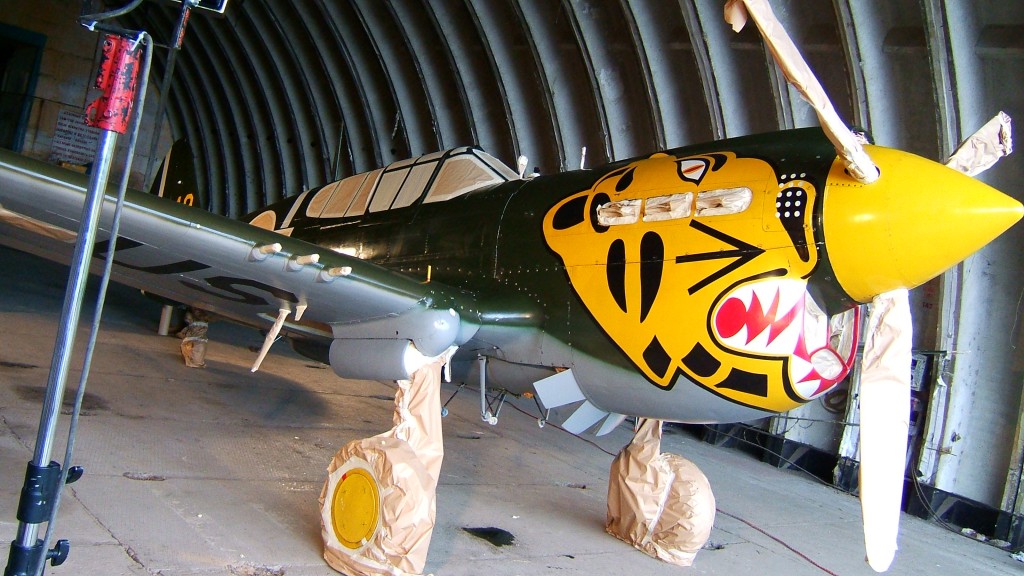
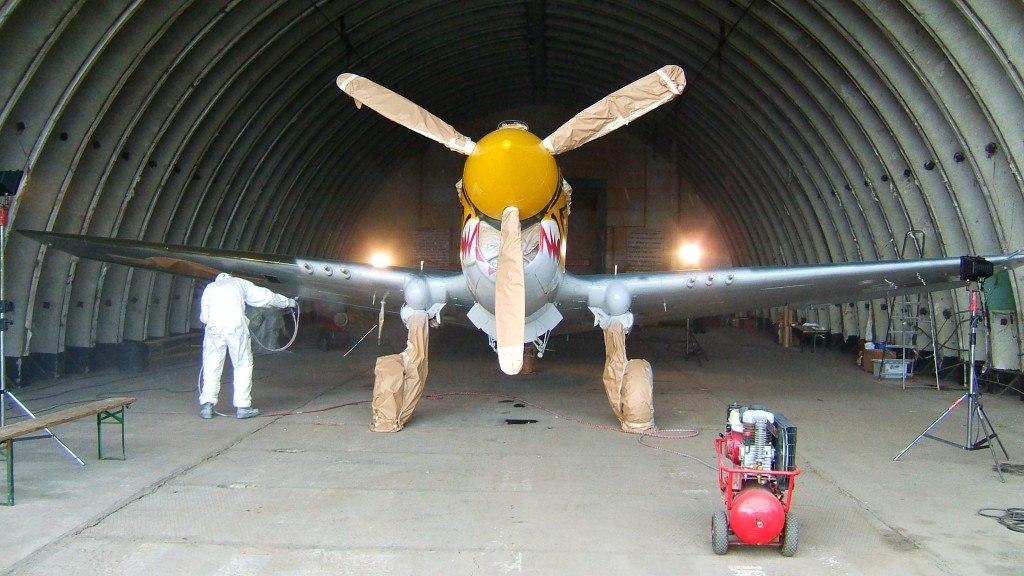
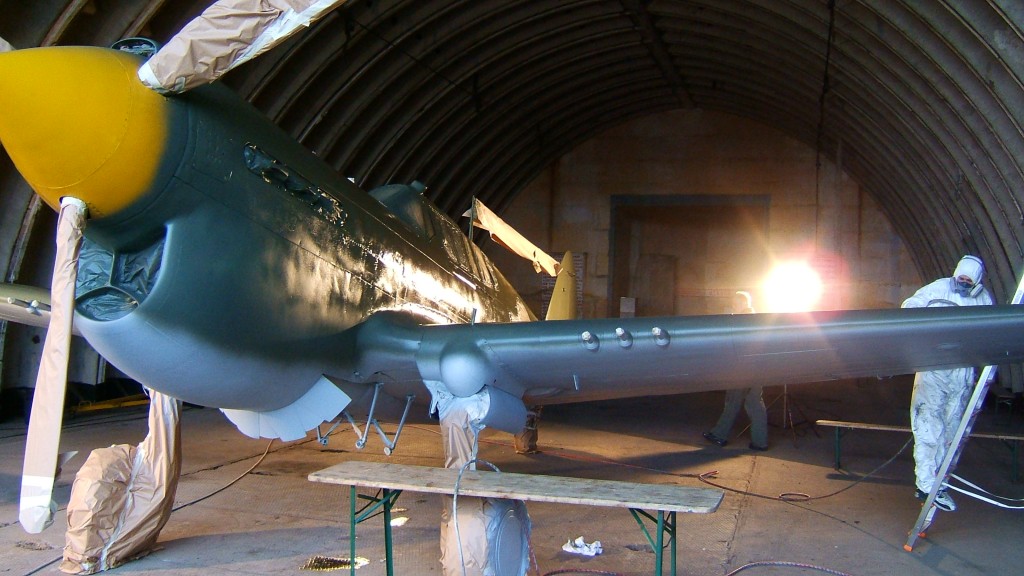
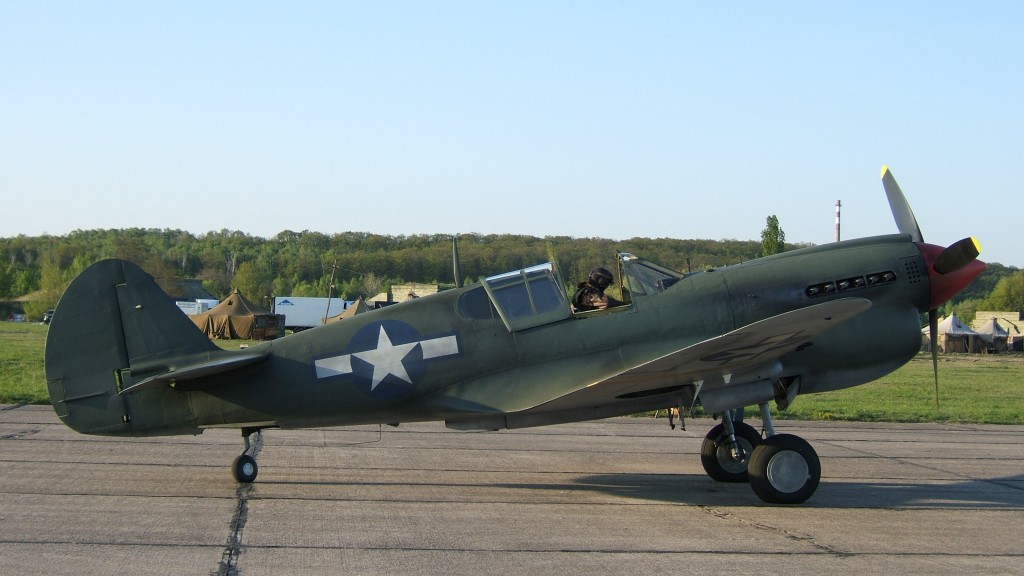
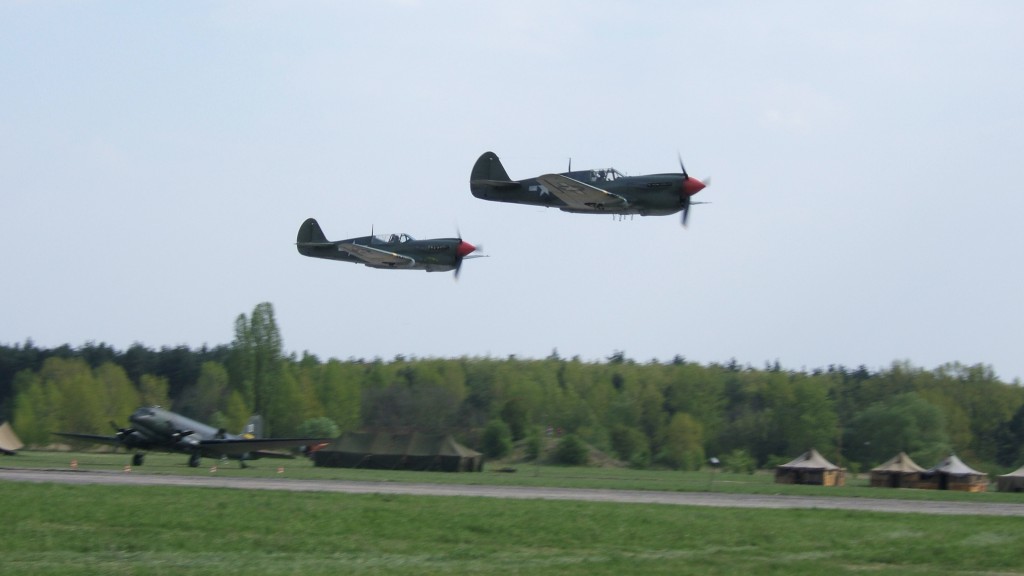
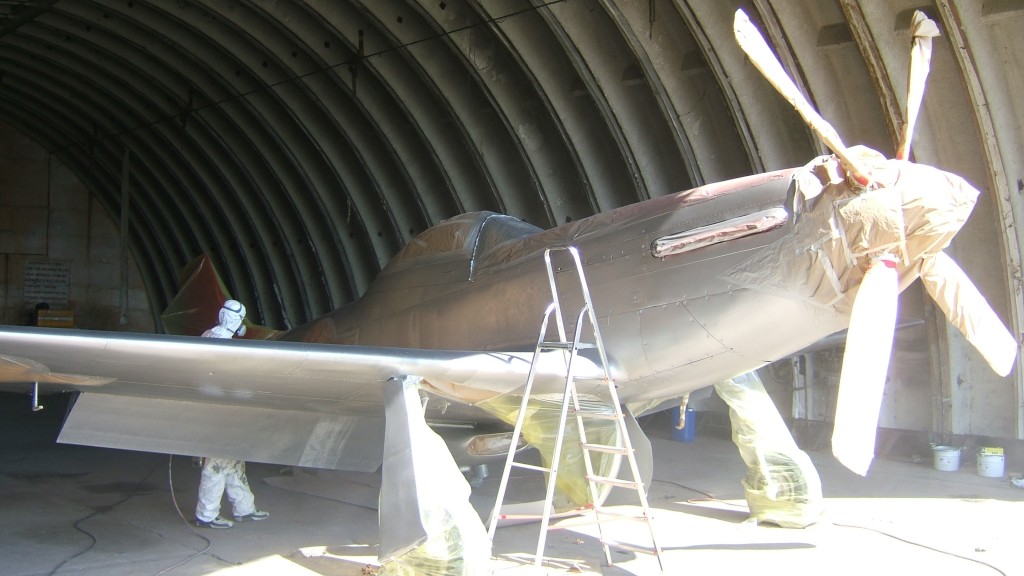
Like any painting the key is in the preparation. The aircraft will need a thorough wash and then de-greasing in order that the paint will take. The paint is then applied using standard spray paint equipment. No need to bake it but the quality of the finish is subject to environmental conditions. On a hot day it will go off very quick – dry in 20 minutes. On a damp and cold day you’ll feel like its never going to dry. Usual rules apply, light going over dark will require several more coats than dark over light. However when dry it can be masked and over colours applied in the usual way.
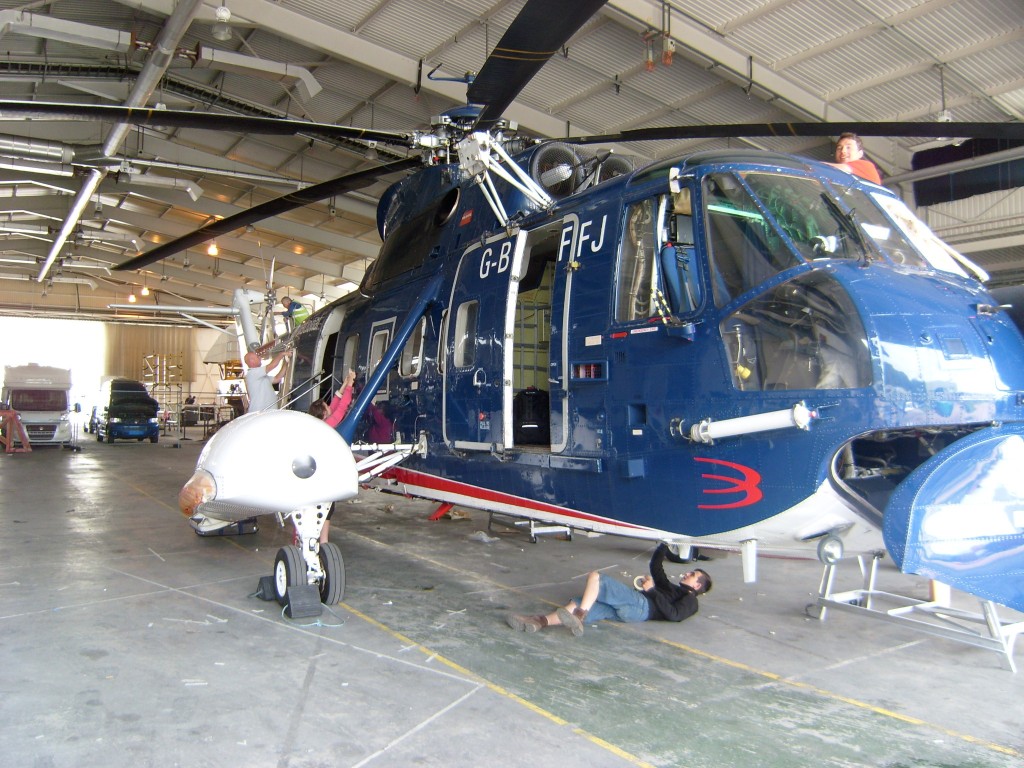
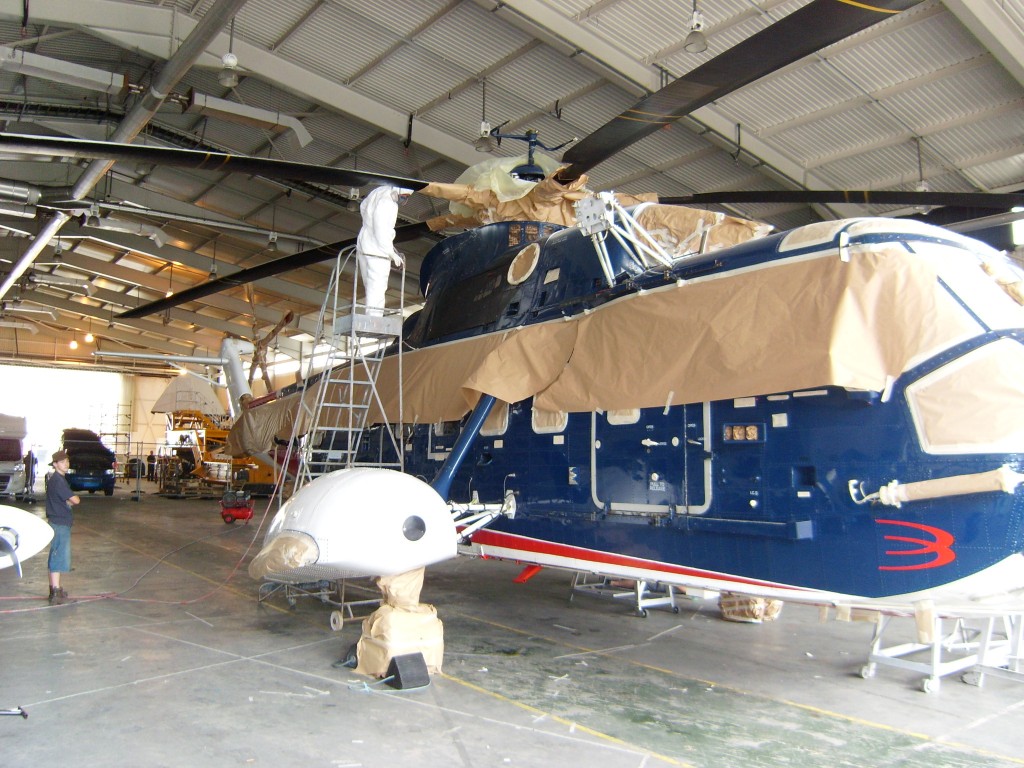
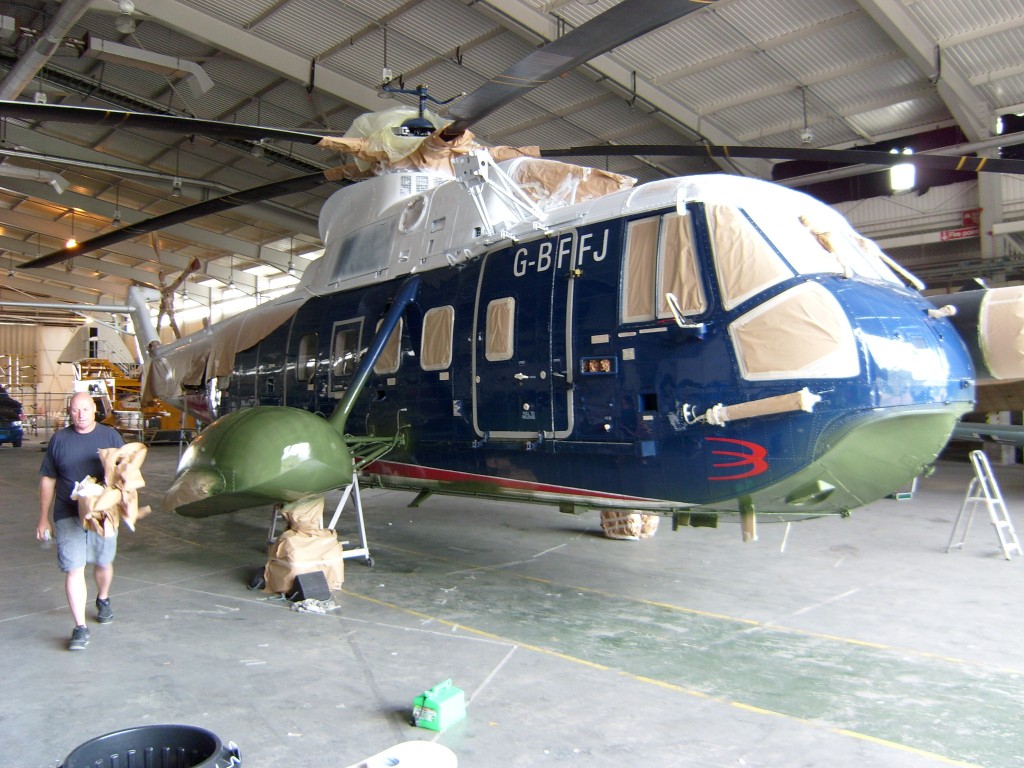
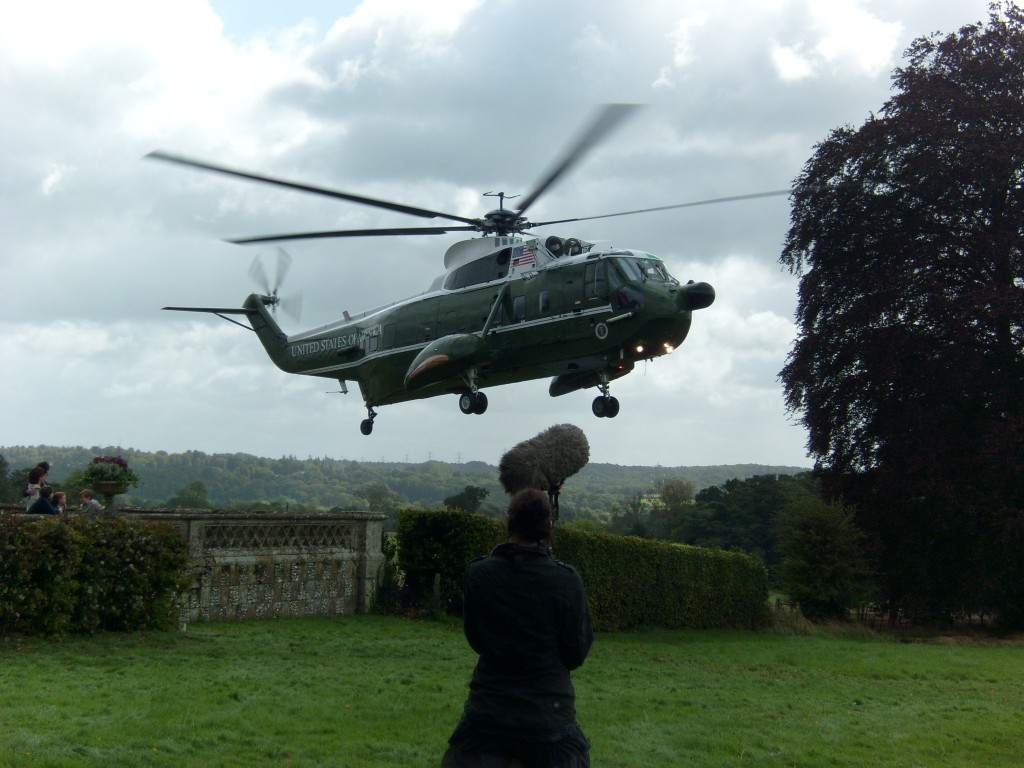
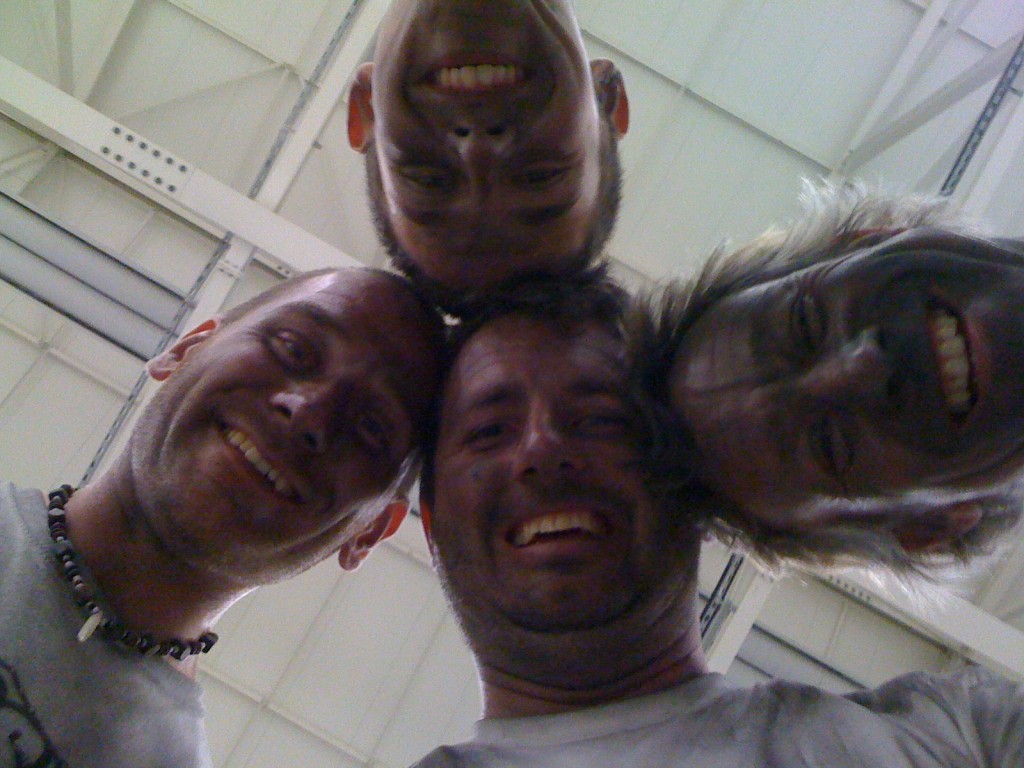
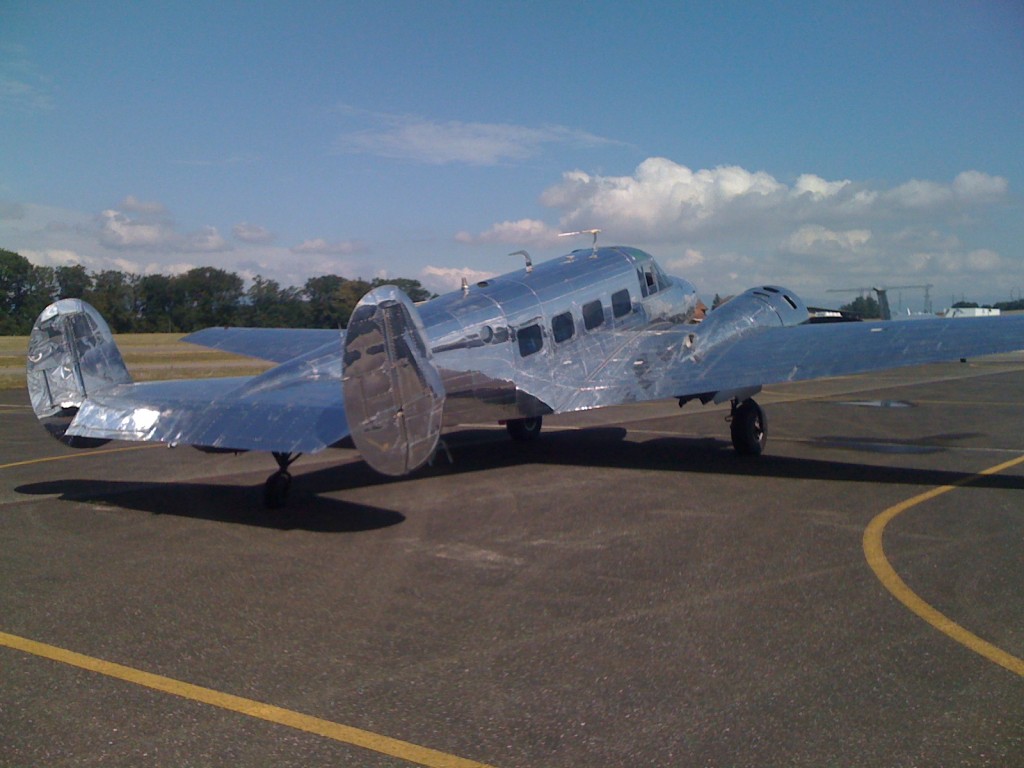
When it is time to wash it off then the magic involves the application of a releasing solution which needs to be kept wet on the surface. A bit like when you see people trying to save a whale or dolphin and its on the back of a truck with people constantly chucking buckets of water over it! The whole process is an art but the removal really sorts out the good guys from the bad – and can make or break the (often financial) relationship between aircraft owner and production company. Paint goes everywhere – every nook and cranny, every panel join, every screw head. Scrubbing won’t get it out and scrubbing will often just scratch the original paint surface. The trick is to soak it off then pressure wash, soak then pressure wash, soak then pressure wash. It’s amazing, it just all ends up in a dirty puddle under the aircraft. Done properly the owner is usually both amazed and delighted. Amazed at the process and delighted because he gets back a really clean aircraft! And on that subject – never has an owner been more delighted than this chap..
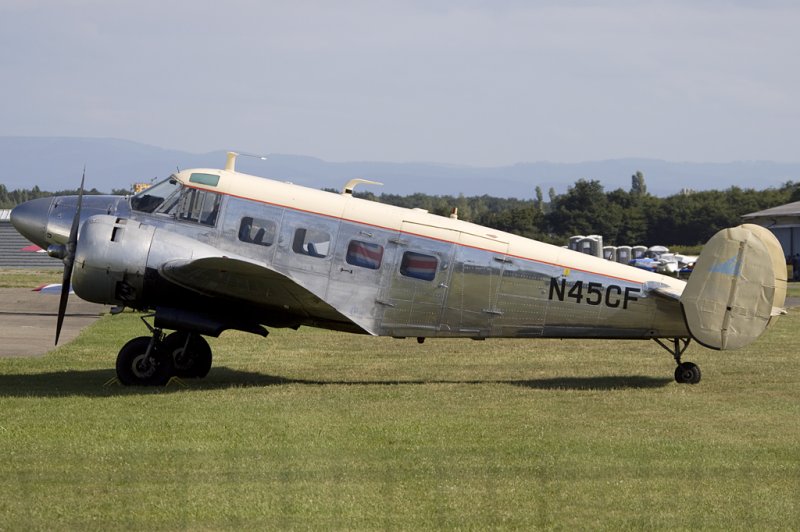
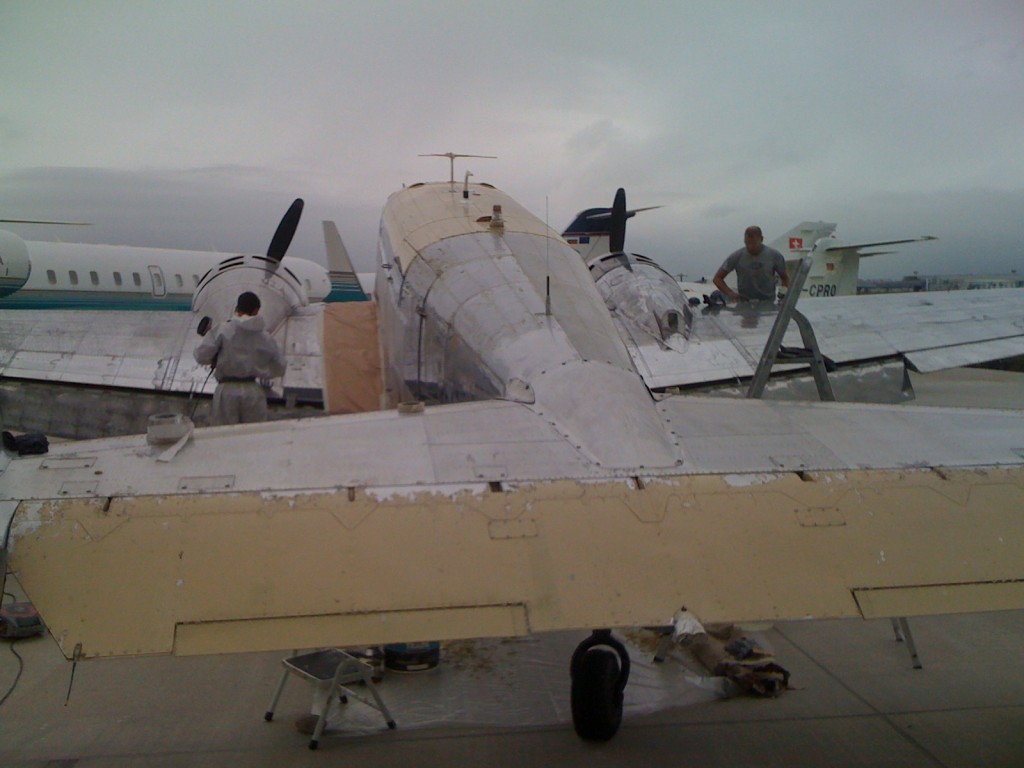
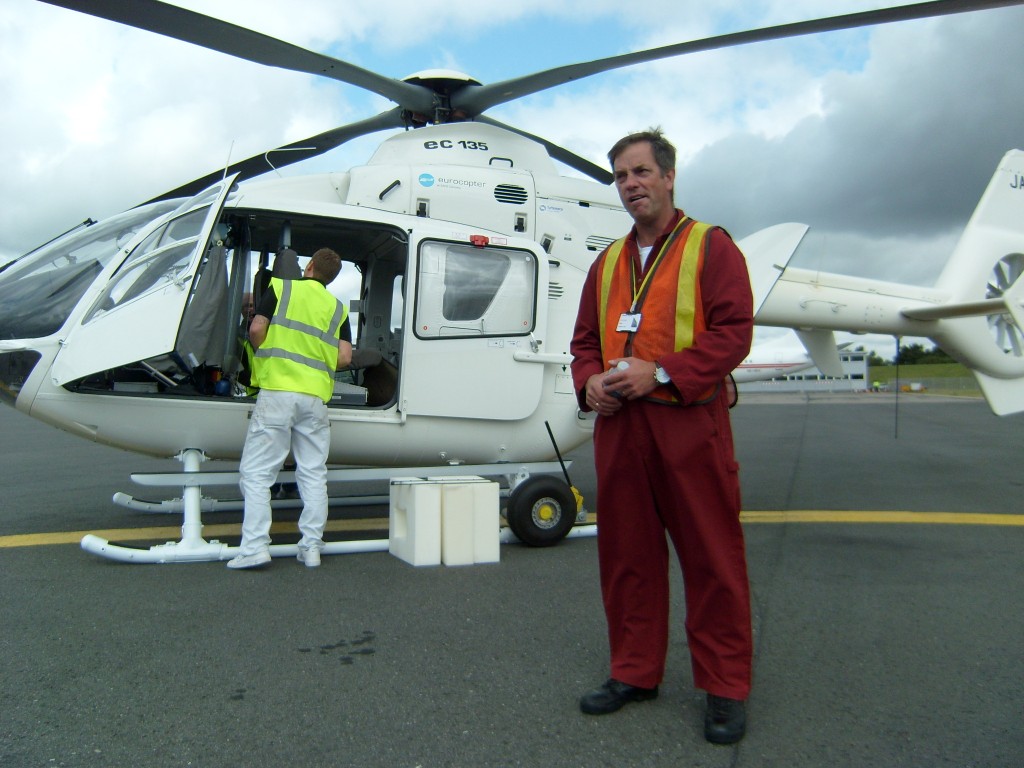
So doesn’t sound too bad does it? Google the paint, art dept grab a ladder, off you go.. Well lets look at some of the pitfalls. Aircraft are generally a nightmare to work on. Because weight is so important they are designed to be strong in only the direction of which stress is usually applied. In short, one wrong foot and you’ll go through or buckle the surface skin or fabric. They are also usually covered in a myriad of weird aerials and wires and bits of faff that protrude from the surface. These are all vital and all fragile. Hang on to one and it’ll snap, lean against one and it’ll bend, get your pressure line caught on one and it’ll damage. In addition there are small holes all over the aircraft to allow air pressure to be taken by the instruments. These must be covered before painting and then must, must, must be uncovered before flight. These are called pitot tubes and static vents. So critical are they that a Boeing 757 crashed at night with the loss of all on-board due to two bits of masking tape 10cm square not being removed after a bit of a cosmetic touch up. The stakes are high and quite obviously you need to know exactly what you’re doing!
Finally it wouldn’t be aviation unless we had to address some paperwork and bureaucratic points. The most obvious is registrations. I’m sure you’ve seen them, in the UK they all start “G” and then have four following alphas so “G-ABCD”. The French all start with an “F” the Germans “D”, the Americans start with an “N”. The registrations have to be displayed and must be a certain size and in certain palces on the aircraft. Geeky bit of info now. Laws state that no aircraft is meant to ever fly below 500ft unless as part of landing or taking off. These registrations are of such a size that someone with normal eyesight shouldn’t be able to read them unless they are closer than 500ft! So if you want to go dive bombing your mates house and someone gets your reg you can see how you’re already busted by the time the CAA phone to chat! Anyway, when we change a registration we need to make an application to the CAA, its not difficult and we’ve done it 100 times before, but it must be done to make the flight legal and the insurance valid.
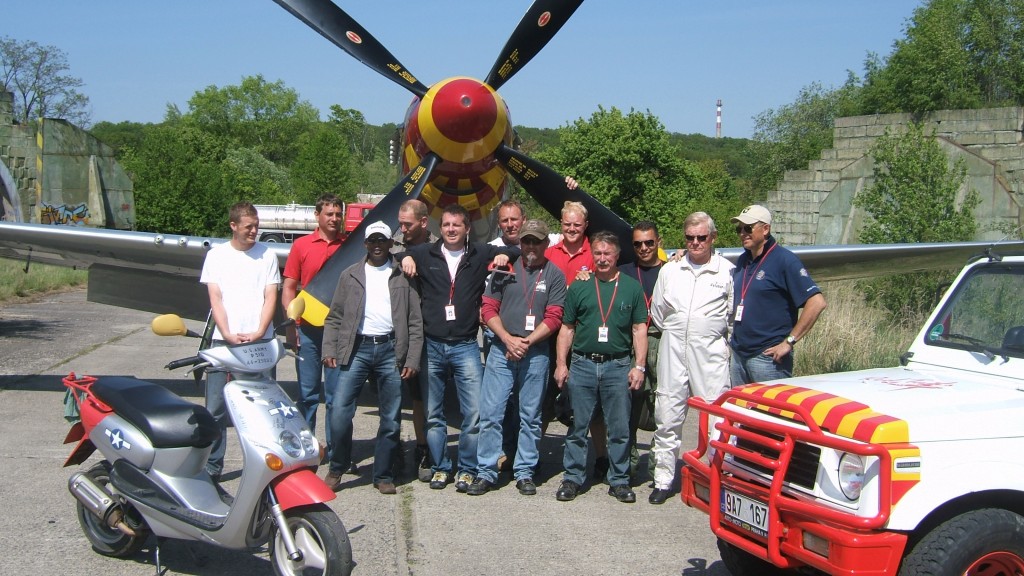
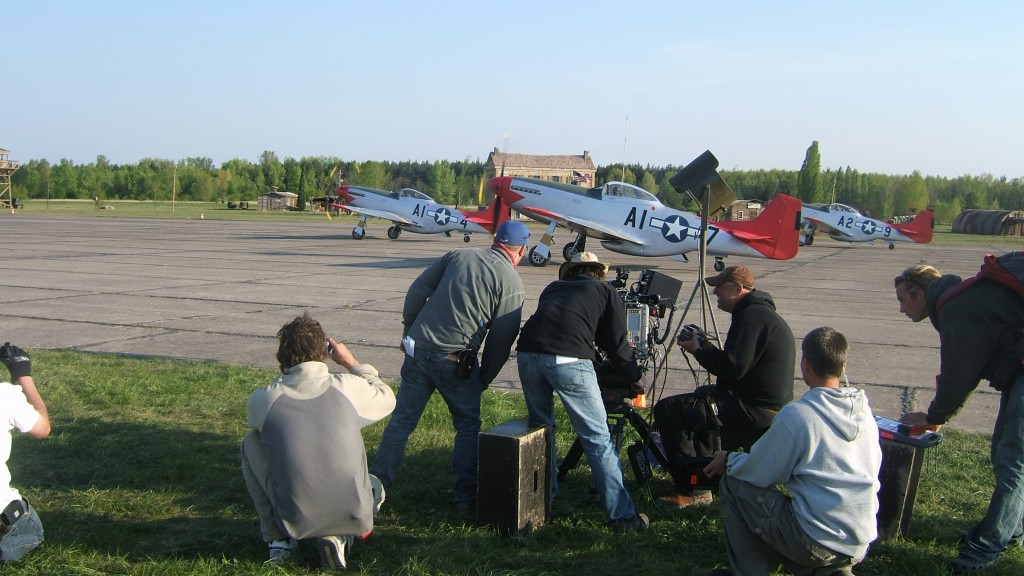
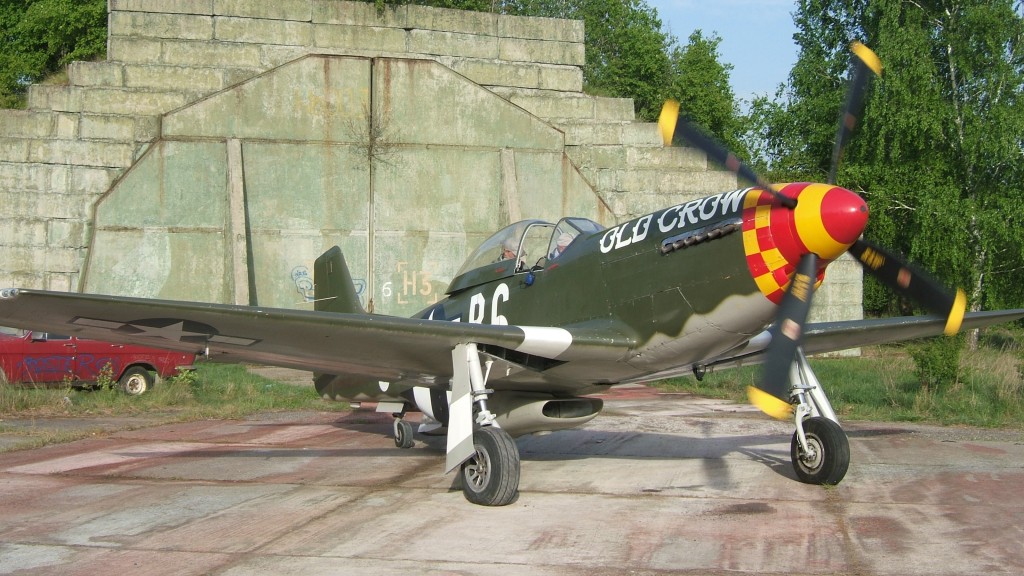
Some old aircraft, like these P51 Mustangs, are excused having to display a civil registration as it would be at odds with the historic scheme of the aircraft. In this situation the whole paint scheme actually forms its registration. So in these cases when we want to change from one historic scheme to another there is another bit of paperwork to do. Often, to get value, we’ll paint one side with one set of markings and the other side with different set. That way we can taxi past camera one way, turn out of shot and taxi back through – hey presto, two different aircraft. All good fun, but a paperwork nightmare for me!
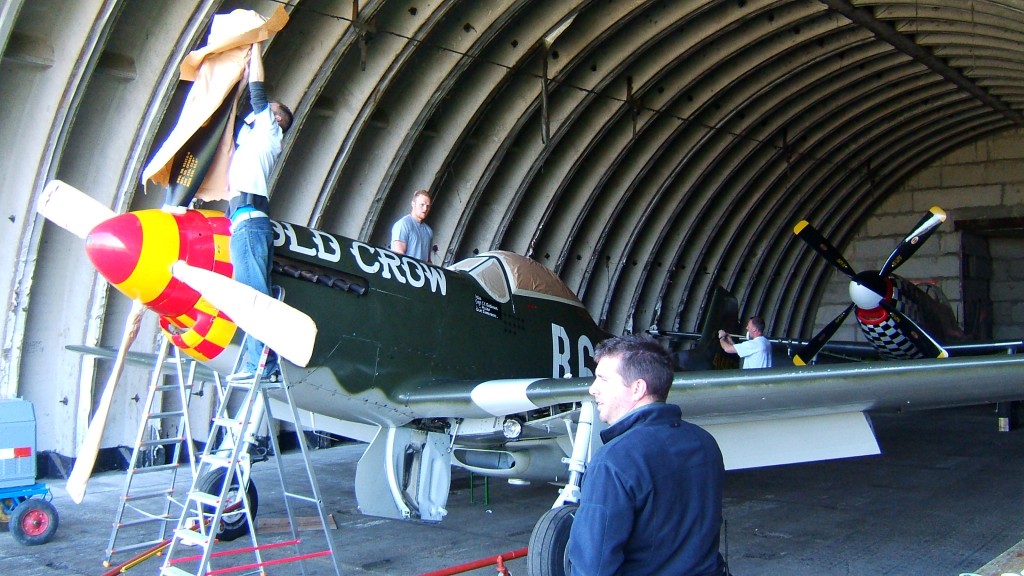
So in short I think the sound advice is to let the professionals do it. The owners of the aircraft are often reluctant to have it done and take great comfort in seeing what we’ve done in the past. We’re also able to offer endless references of people who’ve had it done before and reported no issues. You’ll know you’ll get the scheme you want, the aircraft won’t be damaged, no pesky bits of killer masking tape left behind, no vents or tubes blocked and that you’ll go flying and filming knowing that you’re happy, legal and safe.
If you’d like more information then feel free to give us a call. We’d love to hear from you. Oh and I know you want to see what the moped looked like…
